HOMEMADE CIABATTA
- Dec 17, 2025
- 4 min read
This rustic homemade ciabatta has a super airy texture, thanks to the high hydration dough and a long fermentation process, which allows the yeast to work its magic, creating a wonderfully chewy crust and a soft, open interior. Perfect to eat on it's own, dipped into soup, or made into a sandwich!

WHY HOMEMADE CIABATTA IS SO SPECIAL
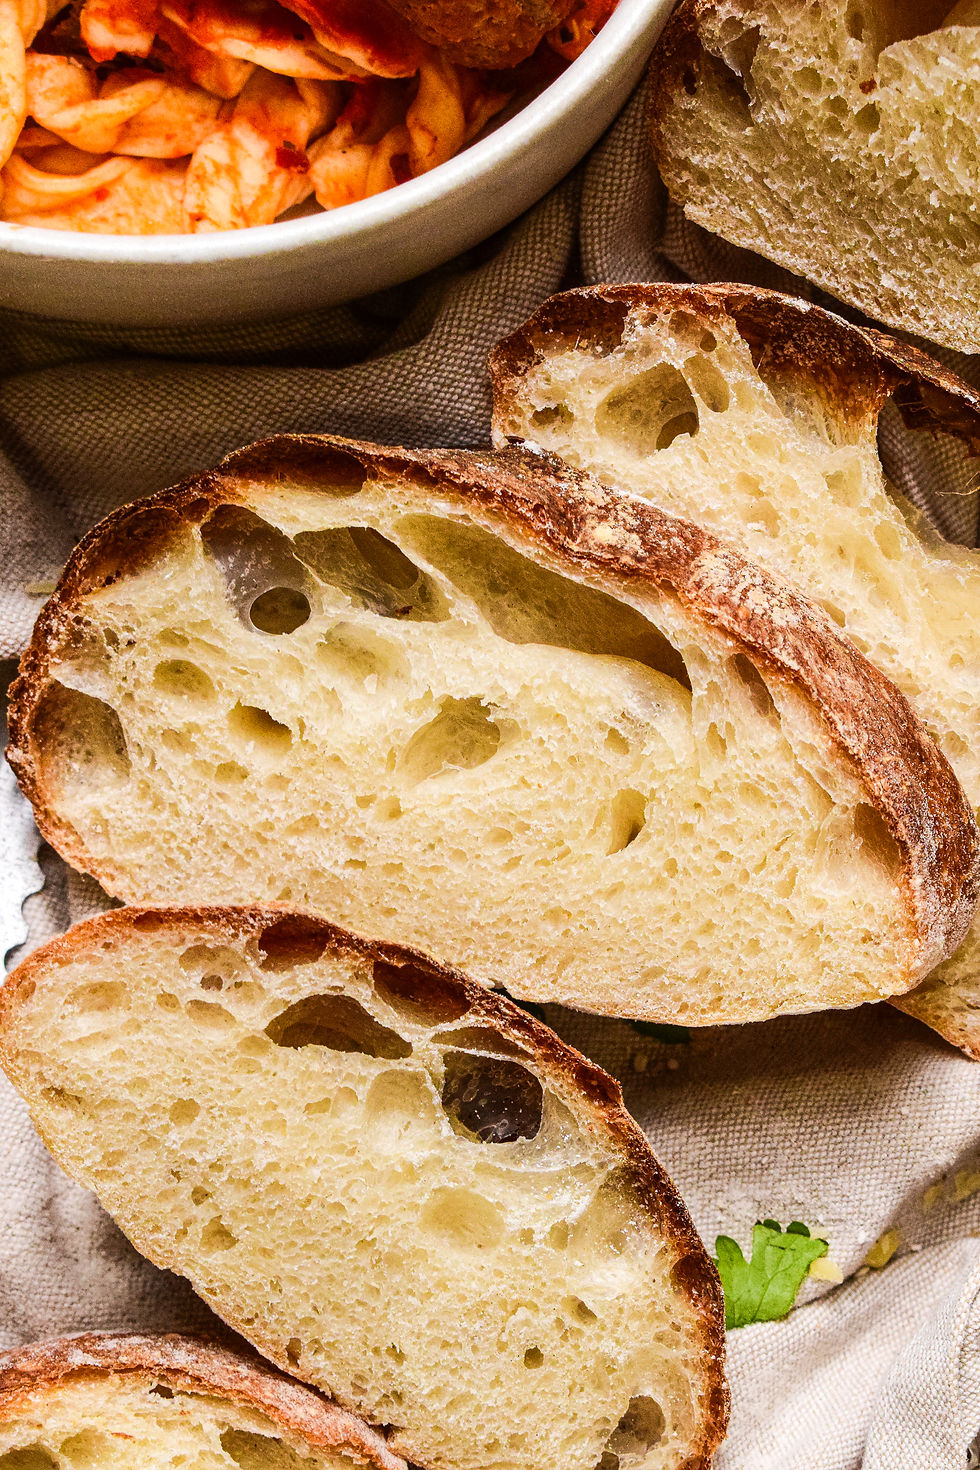
The airy texture of ciabatta is what sets it apart from other breads. When you slice into a freshly baked loaf, you are greeted by a beautiful, open crumb structure.
Each bite is light and delicate, making it perfect for sandwiches, bruschetta, or simply enjoyed with a drizzle of olive oil. The crust is crisp and golden, providing a satisfying contrast to the soft, pillowy inside.

WHY YOU SHOULD MAKE HOMEMADE CIABATTA
Freshness: There's nothing quite like the taste of bread that is baked fresh from your own oven.
Versatility: Ciabatta can be used for a variety of dishes, from sandwiches to dipping in soups and stews.
Family Bonding: Baking together can be a fun activity that brings the family closer.
Healthier Option: Homemade bread allows you to control the ingredients, making it a healthier choice.
Once you try your hand at making homemade ciabatta, you’ll understand why it’s a favorite in many households. The combination of its airy texture and delightful flavor will surely win over your family’s hearts and taste buds!


HOMEMADE CIABATTA BREAD OVERVIEW
Making homemade ciabatta bread involves a few key steps that result in a crusty exterior and a soft, airy interior. Here’s a high-level overview of the method:
Making the Sponge: Combine the flour, water, yeast, and salt to create a wet, sticky dough.
Autolyse: Allow the dough to rest for a period to develop gluten.
Making the Dough: Combine the rest of the ingredients and knead until shiny.
Proofing: Let the dough rise until it has doubled in size, which may take 1-2 hours depending on the temperature.
Stretch and Fold: Perform several stretch and fold techniques to strengthen the dough over a few hours.
Shaping: Gently turn the dough out onto a floured surface and shape it into a loaf or rolls, being careful not to deflate the air bubbles.
Baking: Preheat the oven and place a baking stone or a baking sheet inside. Transfer the shaped dough onto the hot surface and bake until golden brown and crusty.
Cooling: Allow the ciabatta to cool on a wire rack before slicing to ensure the best texture.
This method will yield a delicious homemade ciabatta bread, perfect for sandwiches or as a side to your favorite meals.


For more savoury recipes, check out my:


Make sure to tag me @bakerbabe.ca on Instagram if you make this homemade ciabatta bread! I love seeing my recipes come to life in YOUR kitchen! To pin this recipe and save it for later, you can use the button on the recipe card, the buttons above or below this post, or on any of the photos above.
HOMEMADE CIABATTA
Serves: 12 (2 Loaves)
Ingredients
For the Sponge:
1 cup (130 g) all-purpose flour
¼ teaspoon instant yeast
½ cup lukewarm water
For the Dough:
2 cups (260 g) all-purpose flour
2 teaspoons salt
½ teaspoon instant yeast
¾ cup (180 ml) lukewarm water
¼ cup (60 ml) whole or 2% milk, at room temperature
TO MAKE
Make the Sponge: Combine the flour, instant yeast, and water in a medium bowl and stir with a wooden spoon until a uniform mass forms. Cover the bowl tightly with plastic wrap and let stand at room temperature for 12-24 hours.
Make the Dough: Place the sponge and the dough ingredients in the bowl of a stand mixer fitted with the paddle attachment. Mix on low speed until combined and a shaggy dough forms, about 1 minute, scraping down the bowl and paddle as needed. Increase the speed to medium and continue mixing until the dough becomes a large mass that collects on the paddle and pulls away from the sides of the bowl.
Change to the dough hook and knead the bread on medium speed until smooth and shiny for roughly 8-10 minutes.
Transfer the dough to a large bowl, cover tightly with plastic wrap, and let rise at room temperature until doubled in size, about 1 hour.
Spray a rubber spatula or bowl scraper with non-stick cooking spray or oil. Fold the dough over itself by gently lifting and folding the edge of the dough toward the middle. Turn the bowl 90 degrees, and fold again. Turn the bowl and fold the dough 6 more times (for a total of 8 times).
Cover with plastic wrap and let rise for 30 minutes.
Repeat the folding and re-wrap the plastic wrap, and let rise until doubled in size, about 30 minutes.
One hour before baking, adjust an oven rack to the lower-middle position, place a baking stone on the rack and preheat the oven to 450 degrees F for at least an hour prior to baking.
Transfer the dough to a floured work surface, being careful not to deflate it completely. Liberally flour the top of the dough and divide it in half with a bench scraper. Turn 1 piece of dough cut-side-up and dust with flour. With well-floured hands, press the dough into a rough long rectangle. Fold the shorter sides of the dough toward center, overlapping them like you would fold a letter in thirds, to form a smaller rectangle. Repeat with the second piece of dough.
Gently transfer each loaf, seam-side-down, to a pizza peel dust with flour, and cover with plastic wrap. Let the loaves sit at room temperature for 30 minutes (the surface of the loaves will develop small bubbles).
Slide the bread into the oven and spray the loaves lightly with water. Bake, spraying the loaves with water twice more during the first 10 minutes of baking time, until the crust is deep golden brown 25- 27 minutes.
Transfer the loaves to a wire rack and let cool to room temperature for at least 1 hour before slicing and serving. To recrisp the crust, thaw the bread at room temperature (if frozen), and place unwrapped bread in 450-degree oven for 6 to 8 minutes.


Comments